


Roof flashing protects your home by creating a watertight seal between roofing materials and structures like chimneys, skylights, and vents. It is important because it prevents water from seeping into vulnerable areas and causing interior damage.
Roof Flashing Repair: Preventing Water Damage in Ozark, AL
September 4, 2025
•
Written By
Heritage Roofing Solutions
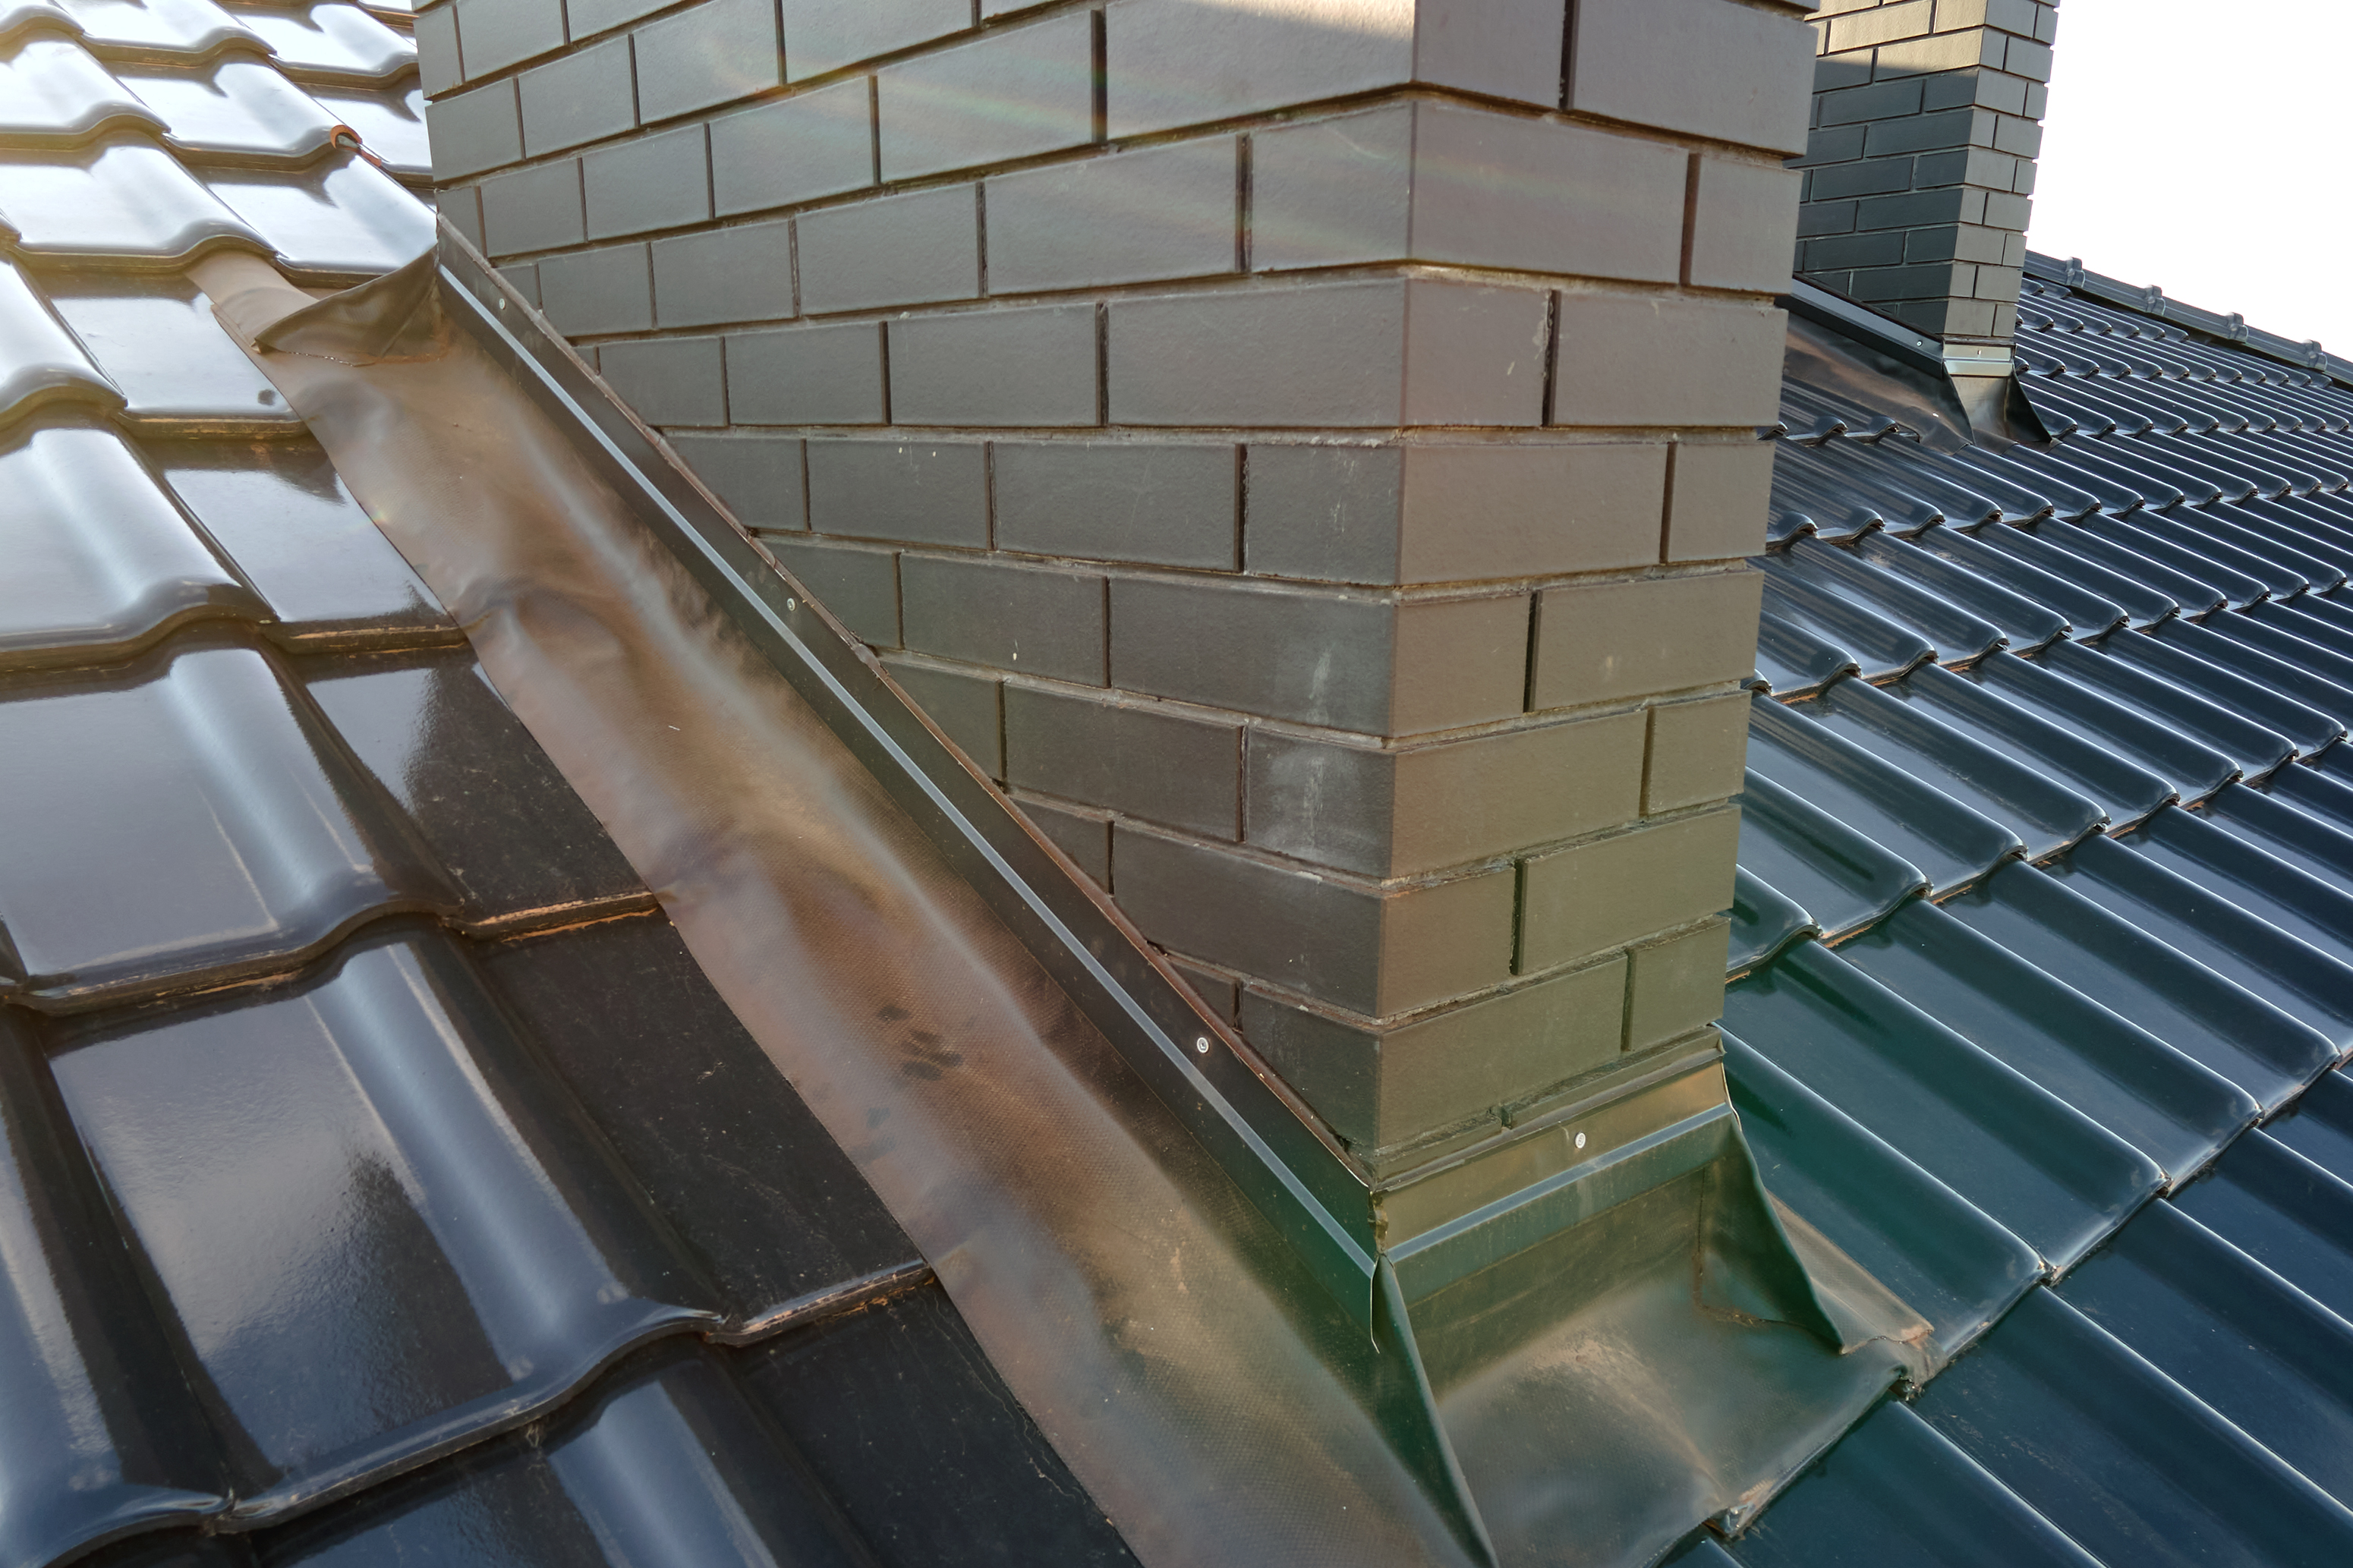
At Heritage Roofing Solutions, we often say this: the parts of a roof that do the most work are often the ones you never think about. One such element is roof flashing—thin metal installed around valleys, vents, chimneys, and skylights. It’s not flashy, but it’s vital.
In Ozark, AL, where heavy rains and humid summers are part of the landscape, flashing failure is one of the leading causes of roof leaks. And when flashing fails, water doesn’t ask permission—it gets in.
This post is your guide to roof flashing repair, how it fits into roof leak prevention, and when flashing replacement services are the right choice. Everything here is shaped by the climate and roofing realities of Ozark.
Here’s what we’ll cover:
- What roof flashing is and how it protects your home
- Why Ozark weather speeds up flashing failure
- What to know before making repairs or replacements
- A step-by-step look at how flashing work is done
- FAQs from homeowners in your neighborhood
Need a professional eye on your roof? We’re here to help.
What Roof Flashing Does—and Why It’s Critical in Ozark’s Climate
Flashing is a simple concept: thin strips of metal (or sometimes flexible membrane) installed wherever two parts of your roof meet. Think of it as a shield that keeps water from sneaking into those seams and transitions—chimneys, valleys, roof edges, or sidewalls.
When it’s installed correctly and maintained over time, flashing quietly does its job. But here in Ozark, where we see strong storms, frequent rain, and constant moisture, flashing wears down faster than you might expect.
Here’s what works against it:
- UV exposure that dries out sealant and weakens joints
- Wind that can lift or shift unsecured flashing
- Moisture that leads to rust and corrosion over time
If flashing begins to deteriorate, water often finds its way inside long before you see the signs—drips, stains, or bubbling paint. That’s why proactive roof leak prevention almost always includes flashing checks.
What to Consider Before Starting a Flashing Repair or Replacement
Before jumping into a flashing repair or calling for replacement services, it’s helpful to understand the basics—what’s involved, what to expect, and how to choose wisely.
Start with a clear inspection
Visible signs like rust, separated seams, or sagging shingles are indicators something’s wrong. But often, the damage isn’t obvious until water shows up inside the home.
We recommend a professional inspection if:
- You’ve had leaks around chimneys, vents, or skylights
- You’ve recently experienced wind or hail storms
- Your flashing hasn’t been checked in more than 2–3 years
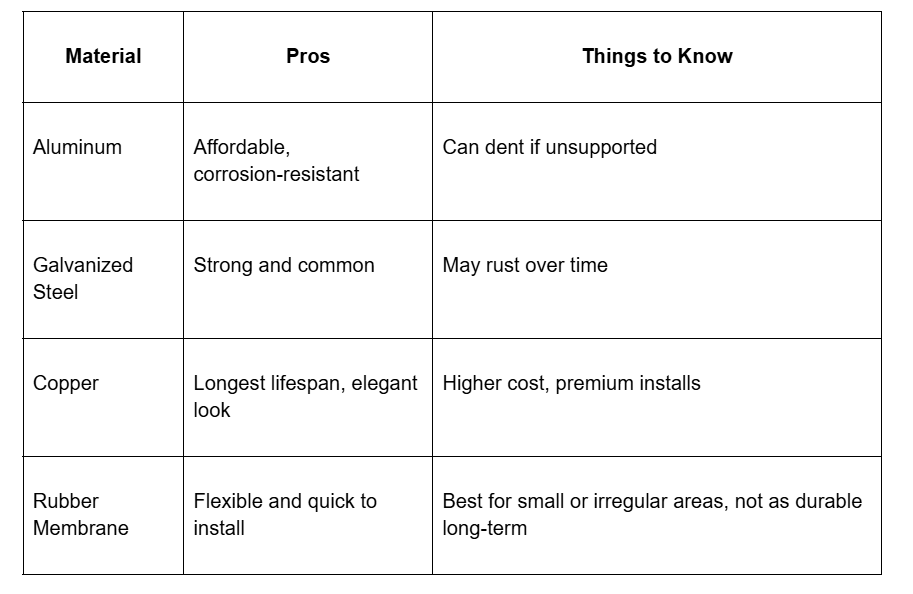
Choose materials that suit your home and climate
Not all flashing materials perform equally in humid environments:
- Aluminum: Lightweight and affordable, but can dent easily
- Galvanized steel: Strong but prone to rust without coatings
- Copper: Durable and beautiful, but higher in cost
- Rubber or membrane: Flexible, good for tricky areas, but not as long-lasting
Budget and timing
Flashing repairs generally cost less than full roof work, but if damage is extensive or hidden, replacement may be smarter. Plan for repairs during dry weather. In Ozark, spring and fall are ideal.
Permits aren’t usually required for flashing-only repairs, but all work must still meet local code.
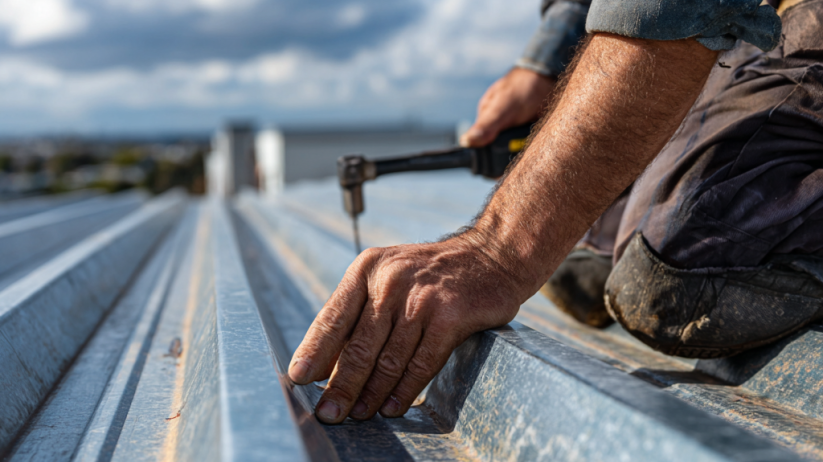
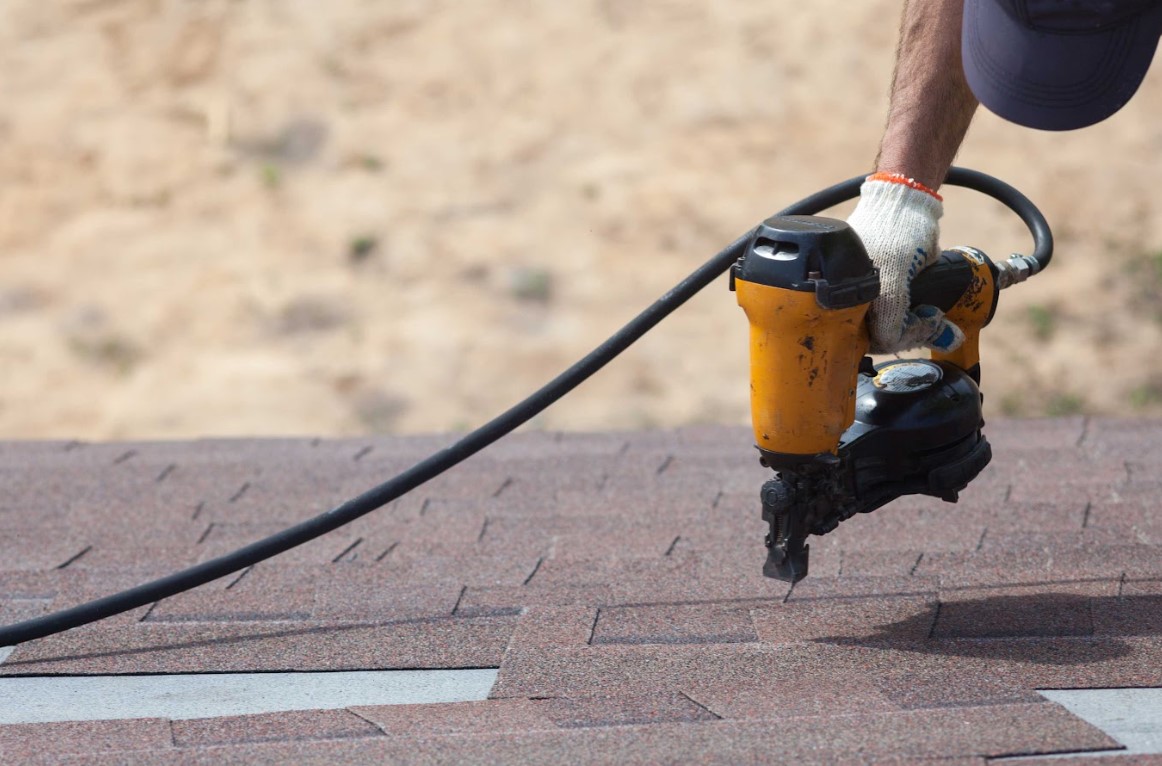
How Roof Flashing Repair or Replacement Gets Done
Here’s how the flashing repair process works when done by professionals like our team at Heritage Roofing Solutions.
Step 1: Identify the problem
We begin by locating the failure point. Is it cracked sealant? Rust? Improper overlap? Sometimes, small gaps are the issue. Other times, the flashing was never installed correctly to begin with.
Step 2: Remove old or damaged flashing
Next, we carefully lift surrounding shingles or tiles and remove the faulty flashing. If we find underlying damage—like rotted decking—that gets repaired before the new material goes in.
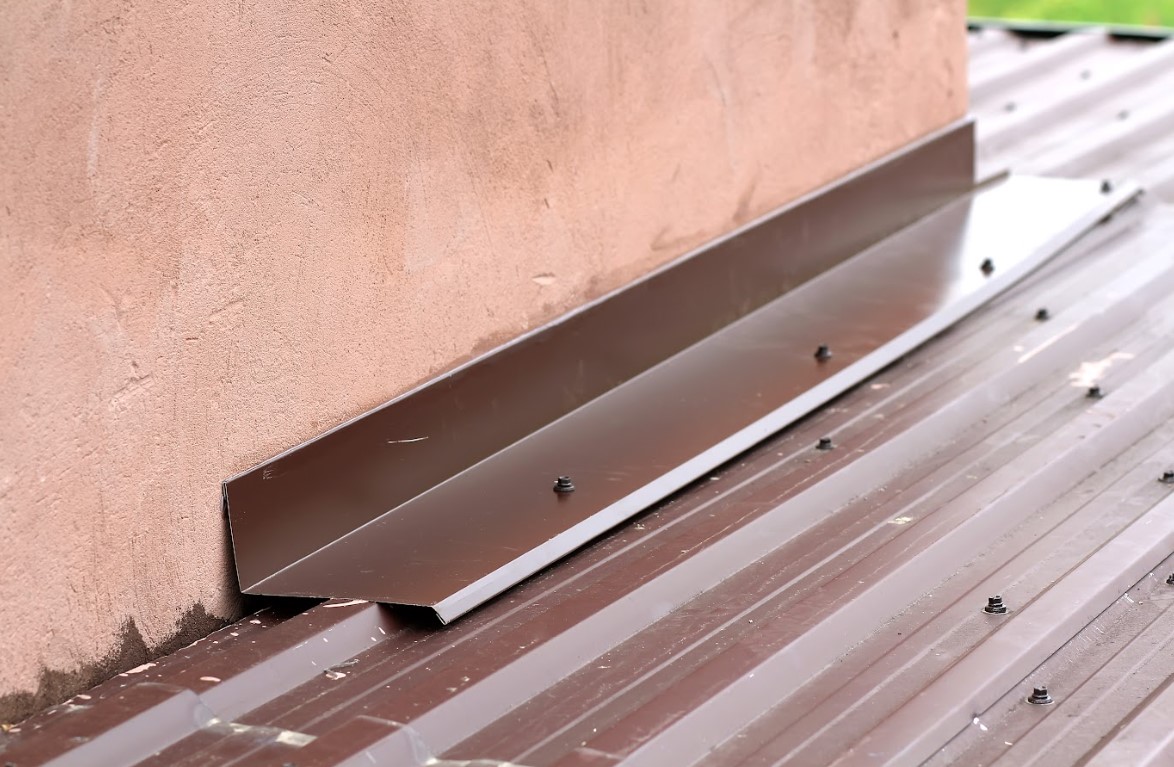
Step 3: Install new flashing
The new flashing is measured, cut, and installed to fit your roof’s geometry. We use corrosion-resistant fasteners and ensure overlaps are sealed tight.
Step 4: Reseal and test
Once in place, the seams are sealed with weather-resistant adhesive. We finish by restoring shingles or tiles and inspecting for a watertight finish.
When needed, we’ll water-test the area to verify the leak is gone—for good.
Why Flashing Fails in Ozark—and How We Keep It from Happening Again
Over the years, we’ve seen common patterns when it comes to flashing problems in Ozark.
Most failures happen due to:
- Cracked or dried-out sealant
- Improper installation during original roof build
- Corrosion from long-term moisture exposure
- Wind uplift damaging edges and seams
How we prevent future issues:
At Heritage Roofing Solutions, we take a layered approach to roof flashing repair and flashing replacement services:
- Use materials suited to Ozark’s climate (like aluminum or copper)
- Seal all edges with UV-stable adhesives
- Follow code and manufacturer specs for slope, overlap, and drainage
- Back our work with a 3-year workmanship warranty
This isn’t just patchwork—it’s prevention.
Comparing Flashing Material Options for Ozark Homes
Choosing the right material can make a big difference in how long your repair holds up—especially in humid climates like ours.
Ozark Roof Flashing FAQs: What Local Homeowners Want to Know
If you're dealing with a leak or considering roof repairs, it’s natural to have questions about flashing. Here are some of the most common concerns we hear from homeowners in Ozark—and clear, helpful answers to guide your next step.
Conclusion: A Simple Fix That Protects Your Whole Roof
Flashing may not be the most noticeable part of your roof, but when it fails, the effects are hard to miss. Water stains, wood rot, and even interior damage can begin at a spot no wider than your hand.
At Heritage Roofing Solutions, we see roof flashing repair and flashing replacement services as the first line of defense against Ozark’s unpredictable weather. Whether it’s a quick fix or a full replacement, we approach every job with care, precision, and the experience to get it right the first time.
Book your free flashing inspection today—before the next storm finds its way in.
Recent Articles
Mastering Roof Flashing Repair: A Step-by-Step Guide for Midland City, AL Homes
Roof flashing is a critical component of any roof, but repairing it can be tricky. Our step-by-step guide will walk you through the process, ensuring your roof stays protected.
November 25, 2025
Heading

Signs Your Roof Needs Repair Before Winter Winds Hit in Taylor, AL
Learn how to recognize the early warning signs that your roof may need repairs and what to consider before hiring a contractor.
November 18, 2025
Heading

Roof Repair Contractors: Trusted Experts in Your Neighborhood in Rehobeth, AL
Your roof is one of your home's most crucial components. At Heritage Roofing Solutions, our experienced roof repair contractors are dedicated to protecting your investment with top-quality workmanship.
November 11, 2025
Heading
Roof Repair Services: Extending Your Roof's Lifespan in Level Plains, AL
Roof damage can be a major headache, but our roof repair services are designed to extend your roof's lifespan and protect your home. Let us assess and address any issues.
November 4, 2025
Heading